Hexo 博客搭建
旧博客已经很久没更新了,考研结束重新回到CS的生活后,发现自己自从博客停更后就停止了学习,和同龄人之间的差距越来越大了。为了激励自己,我决定重开博客,慢慢将旧博客的文章迁移到hexo上。
这篇文章用于记录折腾hexo的过程。
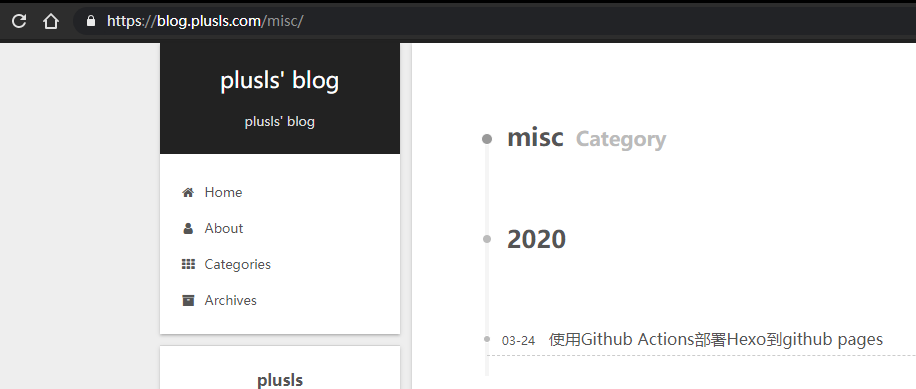
折腾完 Github Action 后的效果如下:

每次push后都会自动部署
安装nodejs
1 | curl -sL https://deb.nodesource.com/setup_13.x | sudo -E bash - |
npm换源以及配置npm模块安装位置(可选)
个人一直比较反感将模块安装到root权限的目录,于是更改了node模块的安装目录
1 | npm config set registry https://registry.npm.taobao.org |
配置后npm的模块会被安装到${HOME}/.npm_packages,可执行文件会在${HOME}/.npm_packages/bin下
因此需要更新PATH,根据个人用的shell修改.bashrc或者.zshrc
1 | export PATH="$HOME/.npm_packages/bin:$PATH" |
安装hexo并初始化博客
1 | npm install -g hexo-cli |
执行后会在当前目录下新生成一个blog目录,里面包含了生成博客所需要的数据
博客的配置文件为_config.yml
写完博客后可以先在本地进行预览
1 | hexo generate |
可以访问127.0.0.1:4000对博客进行预览
个人配置
隐藏index.html
1 | pretty_urls: |
目录结构
hexo默认是把文章全都塞_posts下,为了方便整理博文,我手动为博文建立了不同的目录用于分类
1 | plusls@hyperv-debian > ~/github/blog/source > tree |
默认情况下hexo的url是按照日期来生成的, 若是按照我这样分类博文,并修改配置文件
1 | permalink: :title/ |
以use-kms-server这篇博文为例,它最后生成的url为
https://blog.plusls.com/windows/kms/configure-kms-server/
大大的提高了可读性,被搜索引擎索引后链接也会比较好看
启用资源文件夹
https://hexo.io/zh-cn/docs/asset-folders
主要为了解决附件,图片存放的问题
图片以及附件
在启用资源文件夹后把图片和资源扔进去,就可以在markdown内直接使用markdown语法进行引用
但是存在一个问题,一般引用资源文件夹的图片时都使用的相对目录,一个图片能在博文页面正常显示,但是在主页的摘要中就会挂掉
网上的搜索结果基本上都指向了hexo-asset-image这个插件,但是这个插件在隐藏掉index.html后会出现bug
我fork到自己仓库后魔改了一下,好像能正常工作,未经过完整的测试
可以使用如下命令安装我修改后的插件
1 | npm install github:plusls/hexo-asset-image --save |
解决渲染非markdown文件的问题
hexo在开启资料文件夹后,仍然会渲染资料文件夹内的文件,目前已知会渲染js, css, json,github上已经有人针对这个问题提了issue
https://github.com/hexojs/hexo/issues/1490
看起来官方不打算解决的样子
临时的解决方案为,修改_config.yml
1 | skip_render: |
让博文的url变得有意义
以use-hexo-with-github-actions这篇文章为例,它的url为 https://blog.plusls.com/misc/use-hexo-with-github-actions/

我希望能让 https://blog.plusls.com/misc/ 也变得有意义,能访问相应的category
只需要保证博文中的category设置正确
1 | categories: |
若是博文存放在source\_posts\aaaa\bbbb\cccc.md
则博文中的category需要修改为
1 | categories: |
随后修改_config.yml
1 | category_dir: '' |
更换主题
默认主题真的8行,看了一圈,最后还是决定使用next: https://github.com/theme-next/hexo-theme-next
为了方便主题的更新以及缩小博客git仓库的体积,使用了submodule,顺便把默认主题删了
1 | git submodule add https://github.com/theme-next/hexo-theme-next themes/next |
clone结束后把_config.yml的theme修改为next即可
next主题配置
为了方便主题的更新,我并没有直接修改主题目录下的配置,而是将配置文件复制到了
1 | source/_data/next.yml |
启用categories
个人感觉next的tag比较鸡肋,并未启用,只启用了categories
1 | hexo new page categories |
新建categories page后修改source/categories.md,加上type: "categories"
同时修改next.yml
1 | menu: |
评论
本来打算使用 Disqus,考虑到它被墙了,又不放心国内的评论系统,最后选择了 gitalk
Gitalk 是基于 github 的 issue 系统做的,它要求用户评论时先用 github 登录,用户评论就相当于在我博客的 issue 区评论, Gitalk 会自动化的把评论提交到 issue 以及从 issue 区域爬取评论显示在博文下面
Gitalk 使用了github 的 OAuth, 因此需要注册一个 Github application
链接:https://github.com/settings/applications/new
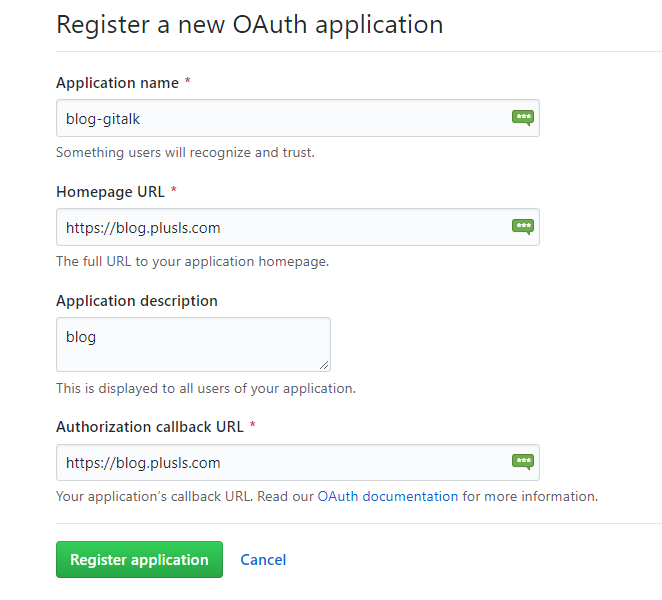
Homepage URL 和 Authorization callback URL填写自己博客的地址,剩下的随意
注册完成后会来到如下页面,把 client_id 和 client_secret 填到next主题的配置文件即可
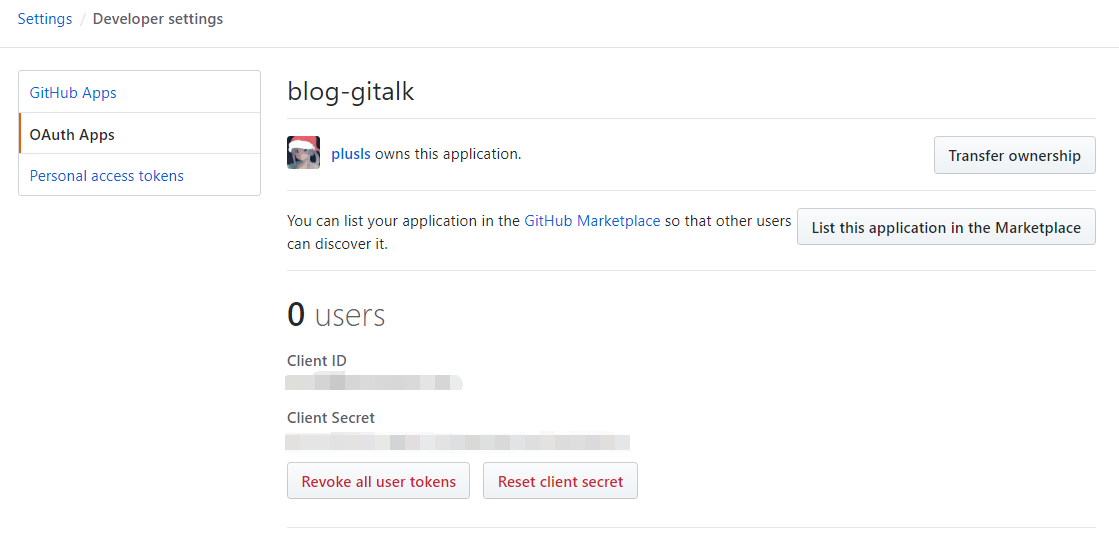
样例配置:
1 | gitalk: |
配置完成后打开博文会发现,博文下方提示 issues not found.
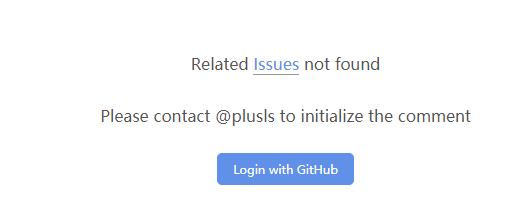
这是因为该博文的对应的 issue 还没有创建,登陆后需要亲自遍历所有博文来为每个博文创建issue
创建后的 issue 类似下图
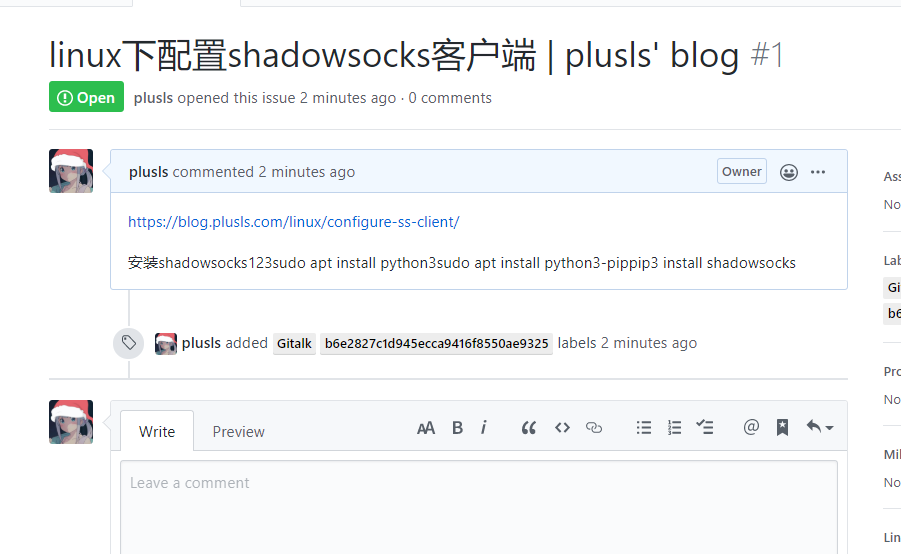
每篇博文都会有个对应的 issue

访问量统计
本来想使用 firebase 结果发现被墙了
而且 firebase 有个坑点,需要把数据库配置为公开的,根据文档进行操作:
https://firebase.google.com/docs/database/security/quickstart?hl=zh-cn#sample-rules
规则如下:
1 | rules_version = '2'; |
尝试用了一下 busuanzi 它的统计好像有点问题,只能在 post 页面显示,在主页显示不出,最后决定使用 leancloud_visitors
教程:
https://github.com/theme-next/hexo-theme-next/blob/master/docs/zh-CN/LEANCLOUD-COUNTER-SECURITY.md
next 的杂七杂八的配置
仅作记录,具体怎么配置可查阅文档:https://theme-next.iissnan.com/theme-settings.html
- 谷歌分析
- 头像以及头像旋转
- 社交信息,比如 Github,Email
- 字数统计
- 代码块配置
- github banner
- favicon
- 友链没使用next自带的,自己新建了一个页面
- 捐赠
- menu badges
- SEO
- license
github pages
在新建一个仓库,名字为plusls.github.io
修改仓库设置如下
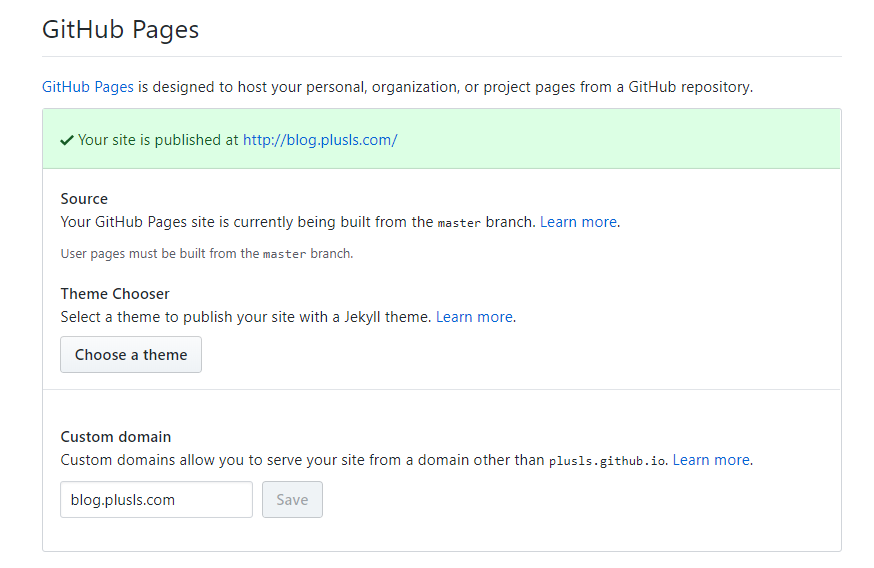
随后将blog.plusls.com CNAME 到 plusls.github.io,即可使用blog.plusls.com访问github pages(白嫖大成功)
git deploy
自动部署博客到github pages,安装插件hexo-deployer-git
修改配置_config.yml:
1 | # Deployment |
配置好后命令行输入hexo deploy会自动部署博客到github pages
由于该插件每次都会初始化一个新的git仓库并push到远端,这个操作会覆盖掉仓库原有的CNAME文件。可以提前在source目录下放置CNAME,hexo会自动将其拷贝到网站的根目录下。
Github Action
终于到正题了,我这人有点懒,并不想写完博客后还要手动去执行hexo deploy,考虑使用Github Action,让我在写完博文push后自动部署
新建文件.github/workflows/deploy.yml
1 | name: Deploy Hexo |
Github Action的教程网上也有,但是没几个教程有说明怎么让git免密码push
首先ssh-keygen生成私钥和公钥,随后将公钥放到plusls.github.io的settings\Deploy Keys,名字随便起一个就好了
私钥则要放在博客的github仓库的settings\secrets,名字必须为GITHUB_ACTION,因为上面的脚本是通过secrets.GITHUB_ACTION来获取私钥并写入 ~/.ssh/id_rsa的
live2d
老婆!
在 hexo 使用 live2d 看板娘十分方便,安装 hexo-helper-live2d 插件即可
作者自带的模型中并没有 Sagiri,去网上随便找了个扔在 /live2d_models,跟着文档改改配置就能用了
1 | # Live2D |
SEO 和 RSS
SEO 我也不太搞得明白,只是生成了站点地图并且提交给了百度和谷歌
next 主题也提供了一些 SEO 的开关,像 baidu push 之类的,弄完后百度和谷歌会自动爬取页面,有新页面时站点地图也会自动更新。不干了,睡大觉!
RSS 和站点地图都可以用安装插件来完成。
1 | npm install --save hexo-generator-baidu-sitemap |